
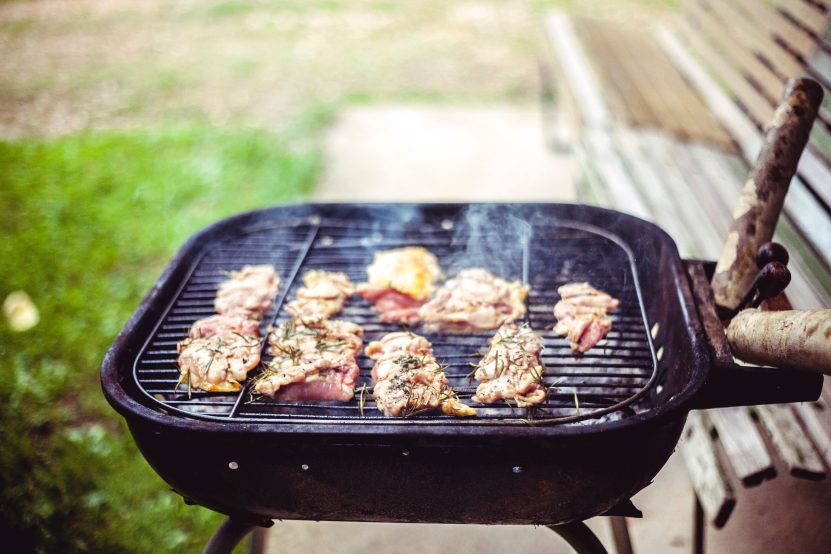
A good barbecue depends as much on the space as on the menu. When the grill, dining table, drinks, and seating are arranged well, the cook stays part of the party instead of running back and forth from the kitchen. The ideas below cover small weekend changes and bigger upgrades, and each one focuses on comfort, flow, or safety.
Table of Contents
- Set Up a Clear Cooking Zone
- Put the Dining Table Beside the Grill
- Add Overhead Shade
- Make Room for Standing Guests
- Keep Grill Controls Within Reach
- Install a Side Prep Counter
- Create a Buffer Zone for Kids and Pets
- Layer String Lights for Evening Hosting
- Add a Privacy Wall or Screen
- Build a Food Safety Station
- Create a Lounge Corner
- Plan Storage for Coolers and Supplies
1. Set Up a Clear Cooking Zone
Start by deciding where the cooking happens and what surrounds it. A workable grill zone usually includes three things: space for the grill itself, a landing area for raw food, and a place to put cooked food before it goes to the table. Without that landing area, platters end up balanced on the grill lid or the edge of a lawn chair.
- Leave at least 3 feet of open space on every side of the grill.
- Keep the grill on a flat, stable surface such as pavers, concrete, or compacted gravel.
- Point the grill so smoke drifts away from seating areas whenever the wind allows.
2. Put the Dining Table Beside the Grill
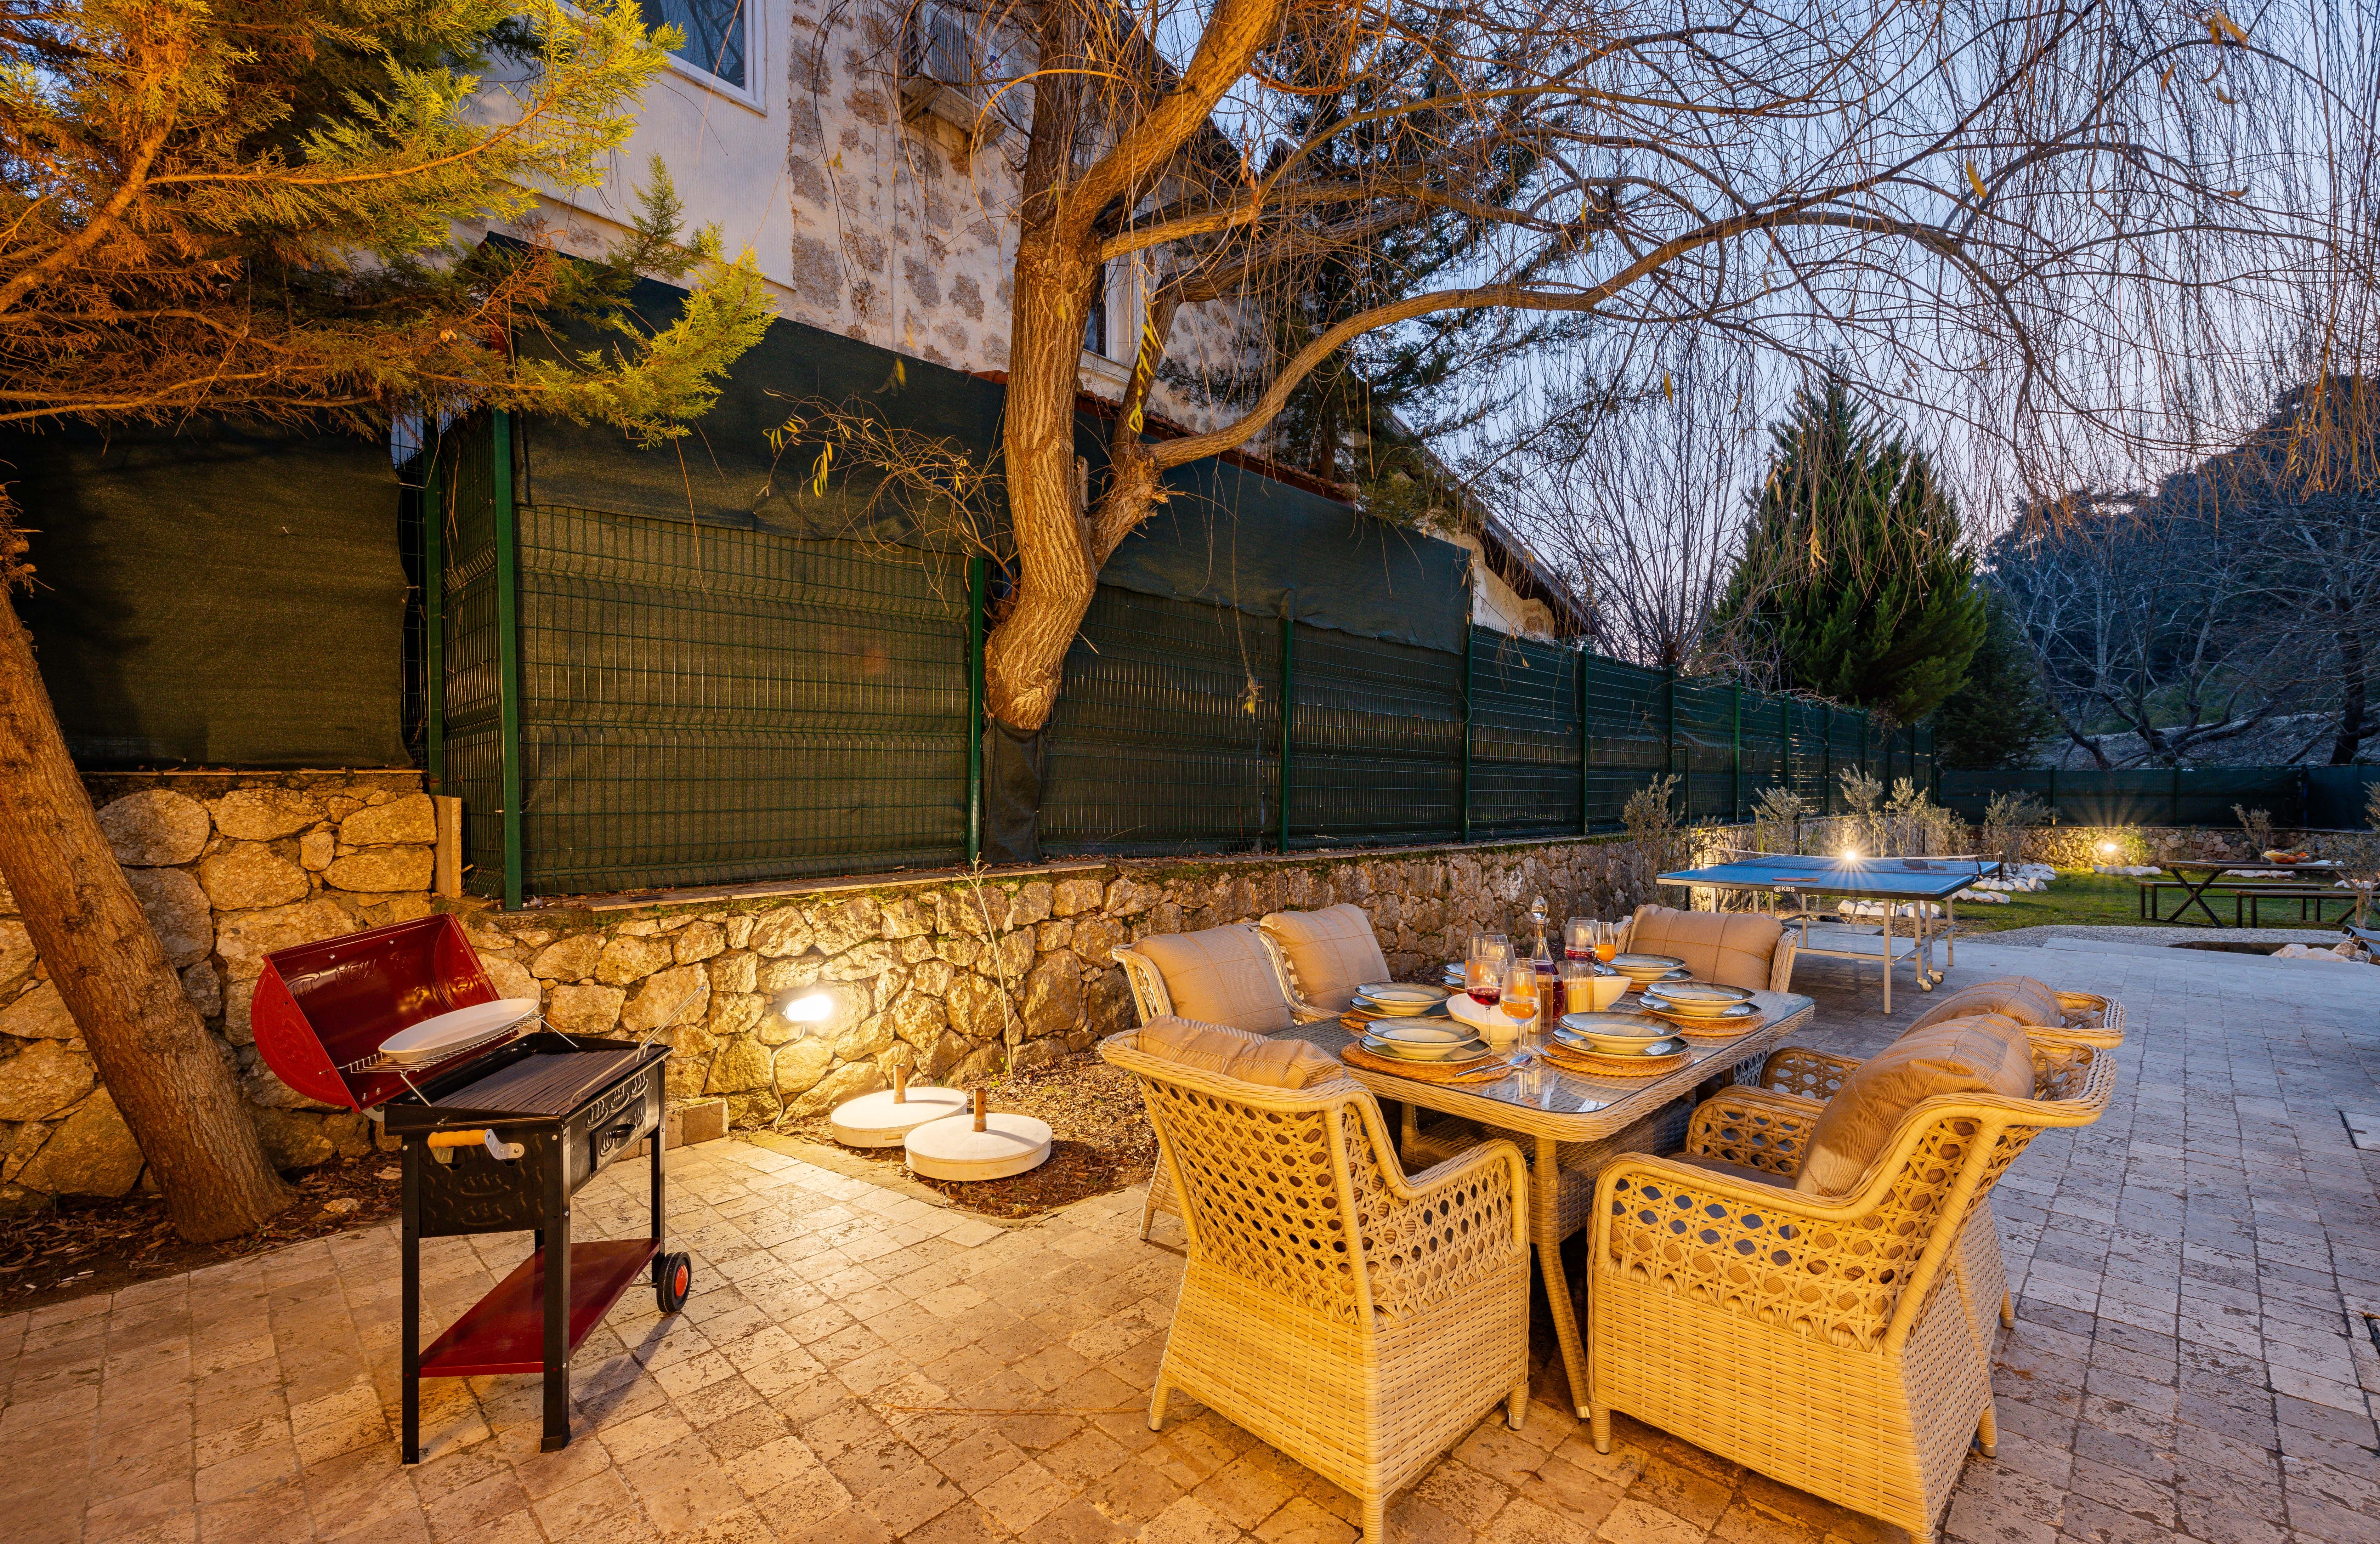
Placing the dining table within a few steps of the grill shortens the trip from flame to plate. Guests can see the food being cooked, and the cook can join the conversation without leaving the table for long stretches. Choose a table with a surface that wipes clean easily, since sauces and grease tend to travel.
3. Add Overhead Shade
Shade changes how long people will stay outside. A pergola, a retractable awning, or a large umbrella over the table keeps seating comfortable during the hottest part of the afternoon. Shade also protects grill covers, drink tables, and electronics from direct sun. Check that any overhead structure has clearance from the grill and is not directly above the flame, since heat and smoke can damage materials and create a fire risk.
4. Make Room for Standing Guests
Many guests prefer to stand near the food rather than sit, especially at larger gatherings. Build standing room into the layout with a few high-top tables or a narrow counter along one edge of the patio. A simple setup with bar-height tables can seat very few people but keeps the cooking area from becoming a crowded corner.
- Use bar-height tables for drinks and small plates.
- Place napkins, condiments, and utensils on a separate table so guests do not crowd the grill.
- Keep one clear path from the house to the grill for carrying food.
5. Keep Grill Controls Within Reach
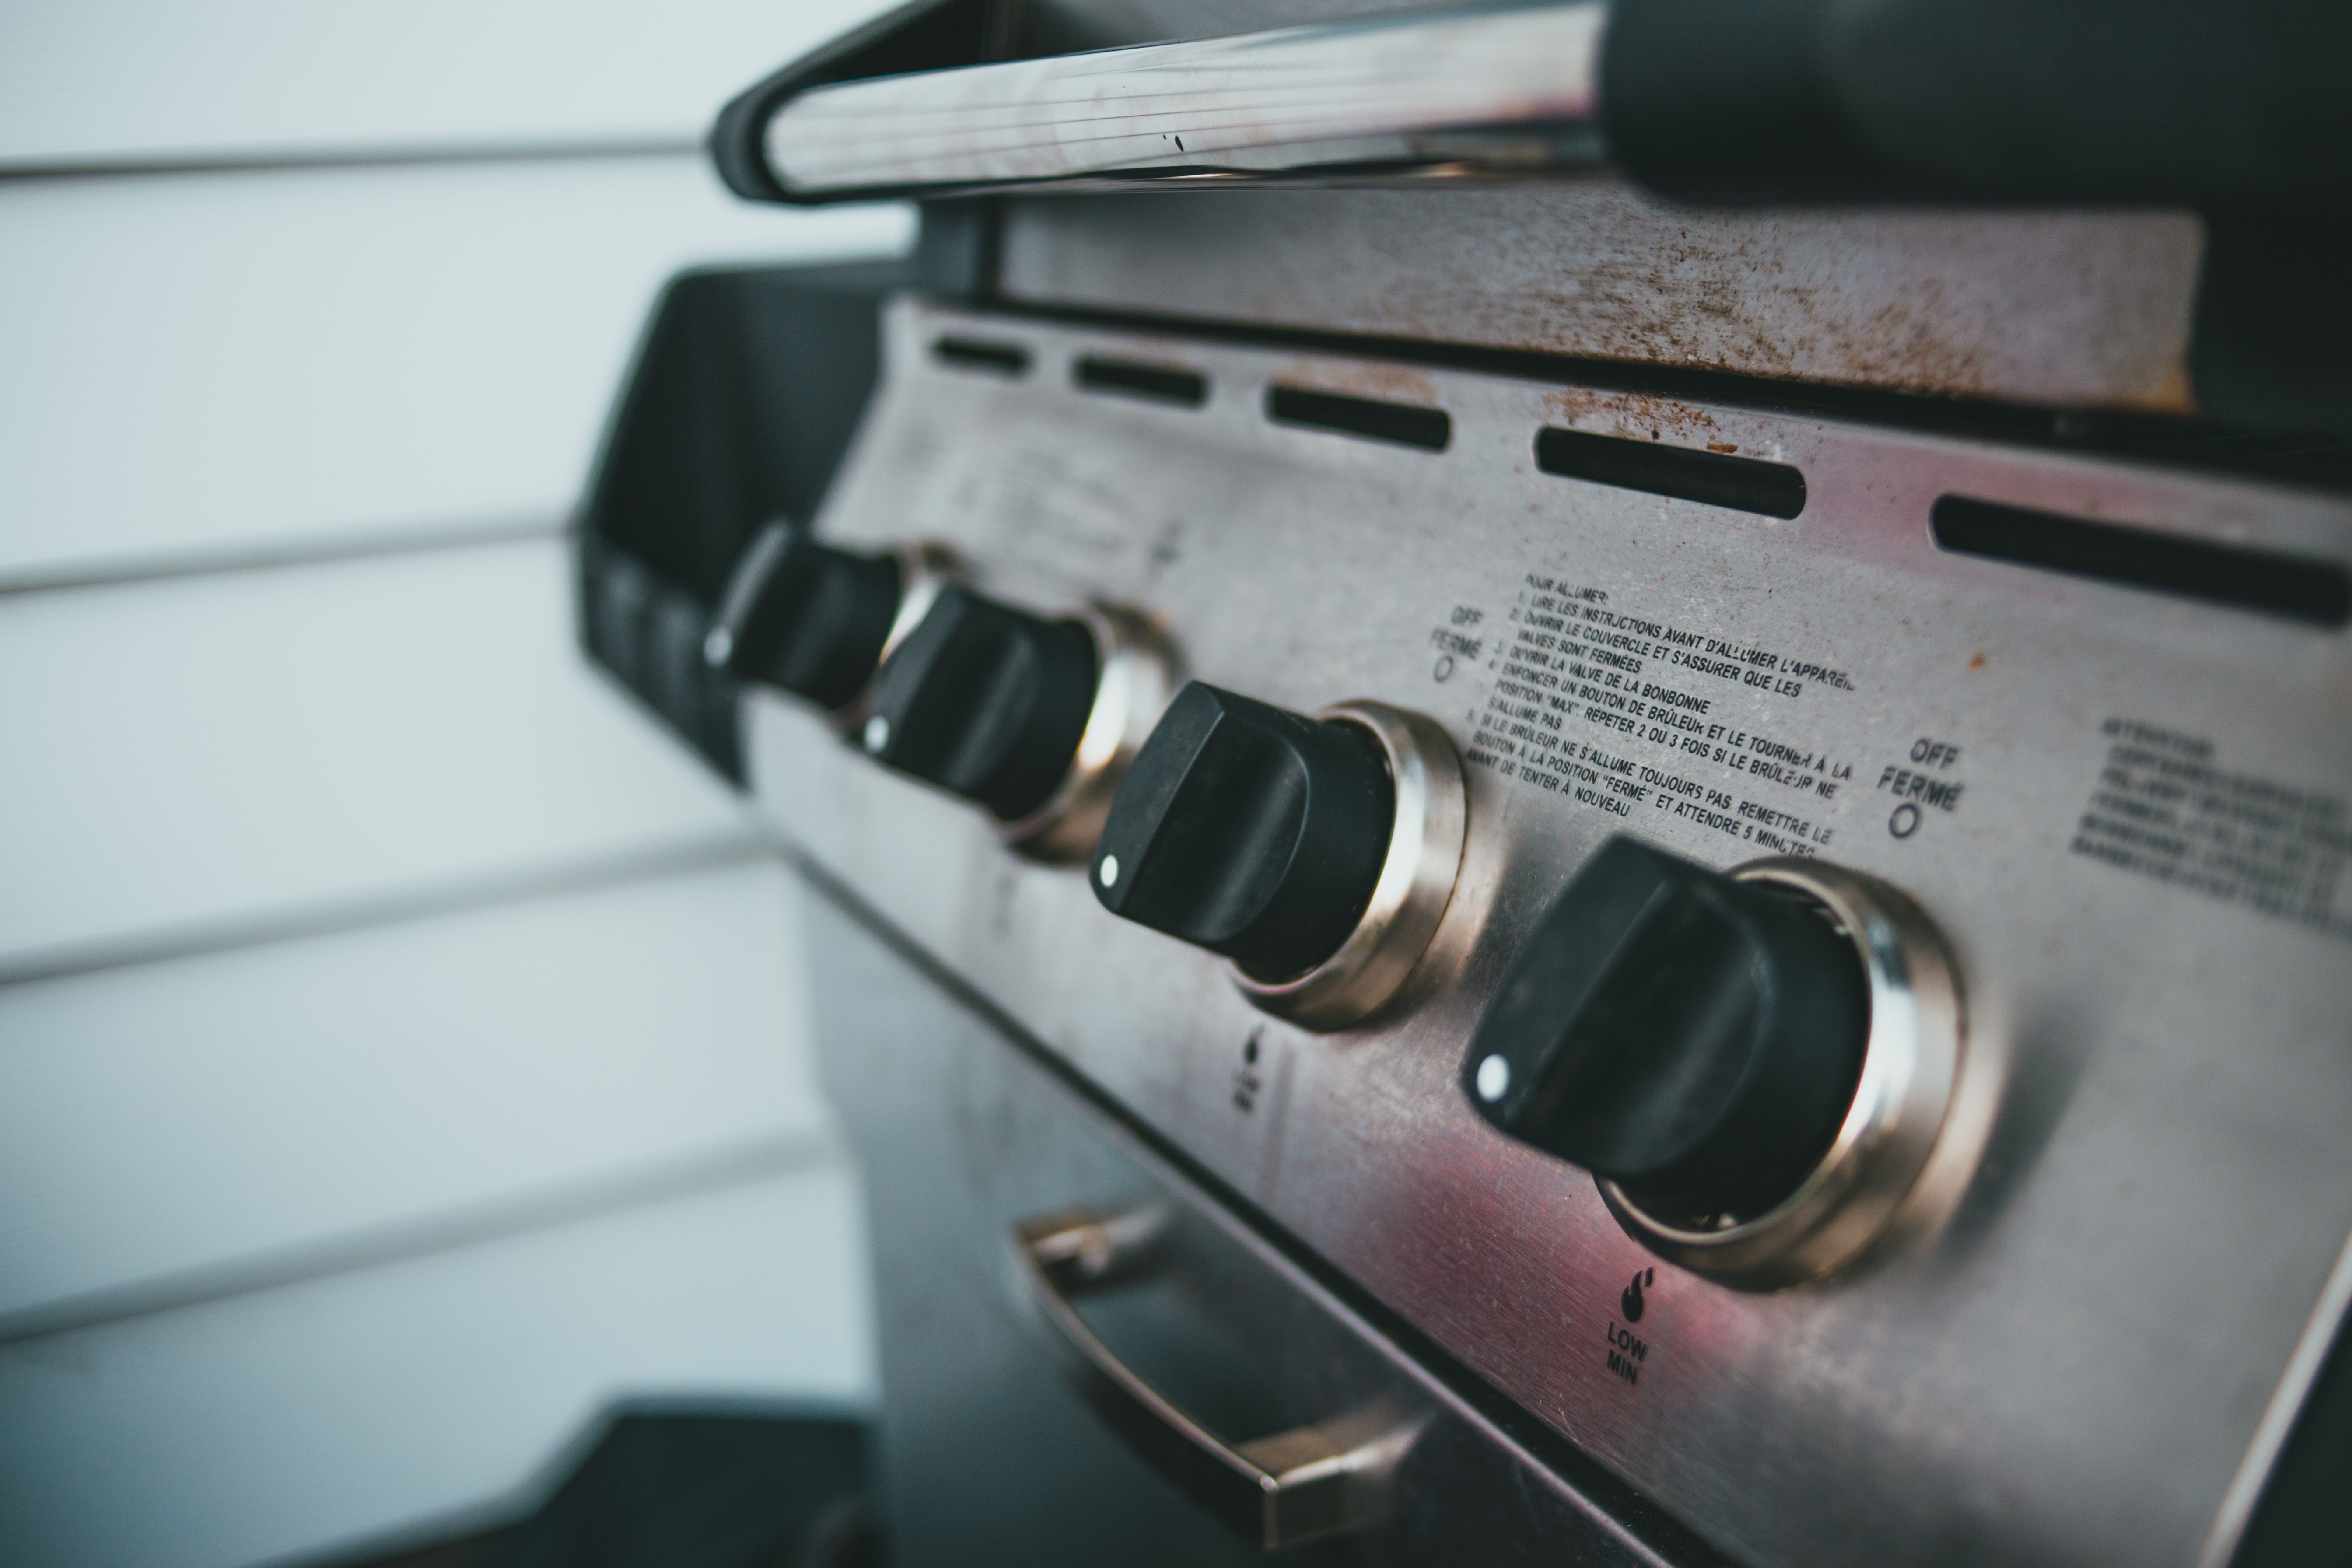
A grill is easier to manage when the controls, lighter, and tools are within arm’s reach of the cook. For gas grills, the side burner and propane connection should be easy to access but not blocked by furniture. For charcoal grills, keep a lidded metal container and a long-handled brush nearby. Store matches and lighters out of children’s reach.
6. Install a Side Prep Counter
A side counter gives you a place to season meat, assemble skewers, and rest platters. It can be a fixed built-in counter, a rolling outdoor cart, or a folding table with a heat-resistant surface. Keep it at least a few feet from the flame so that hot cookware and raw ingredients never share the same spot.
7. Create a Buffer Zone for Kids and Pets
Safety should shape the layout as much as convenience does. The National Fire Protection Association recommends placing the grill well away from the house, deck railings, and overhanging branches, and keeping children and pets at least three feet from the grilling area. You can mark that boundary with a low fence, a line of potted plants, or simply by placing the lawn games and play equipment on the far side of the yard. For more detail, see NFPA’s grilling safety resources.
8. Layer String Lights for Evening Hosting
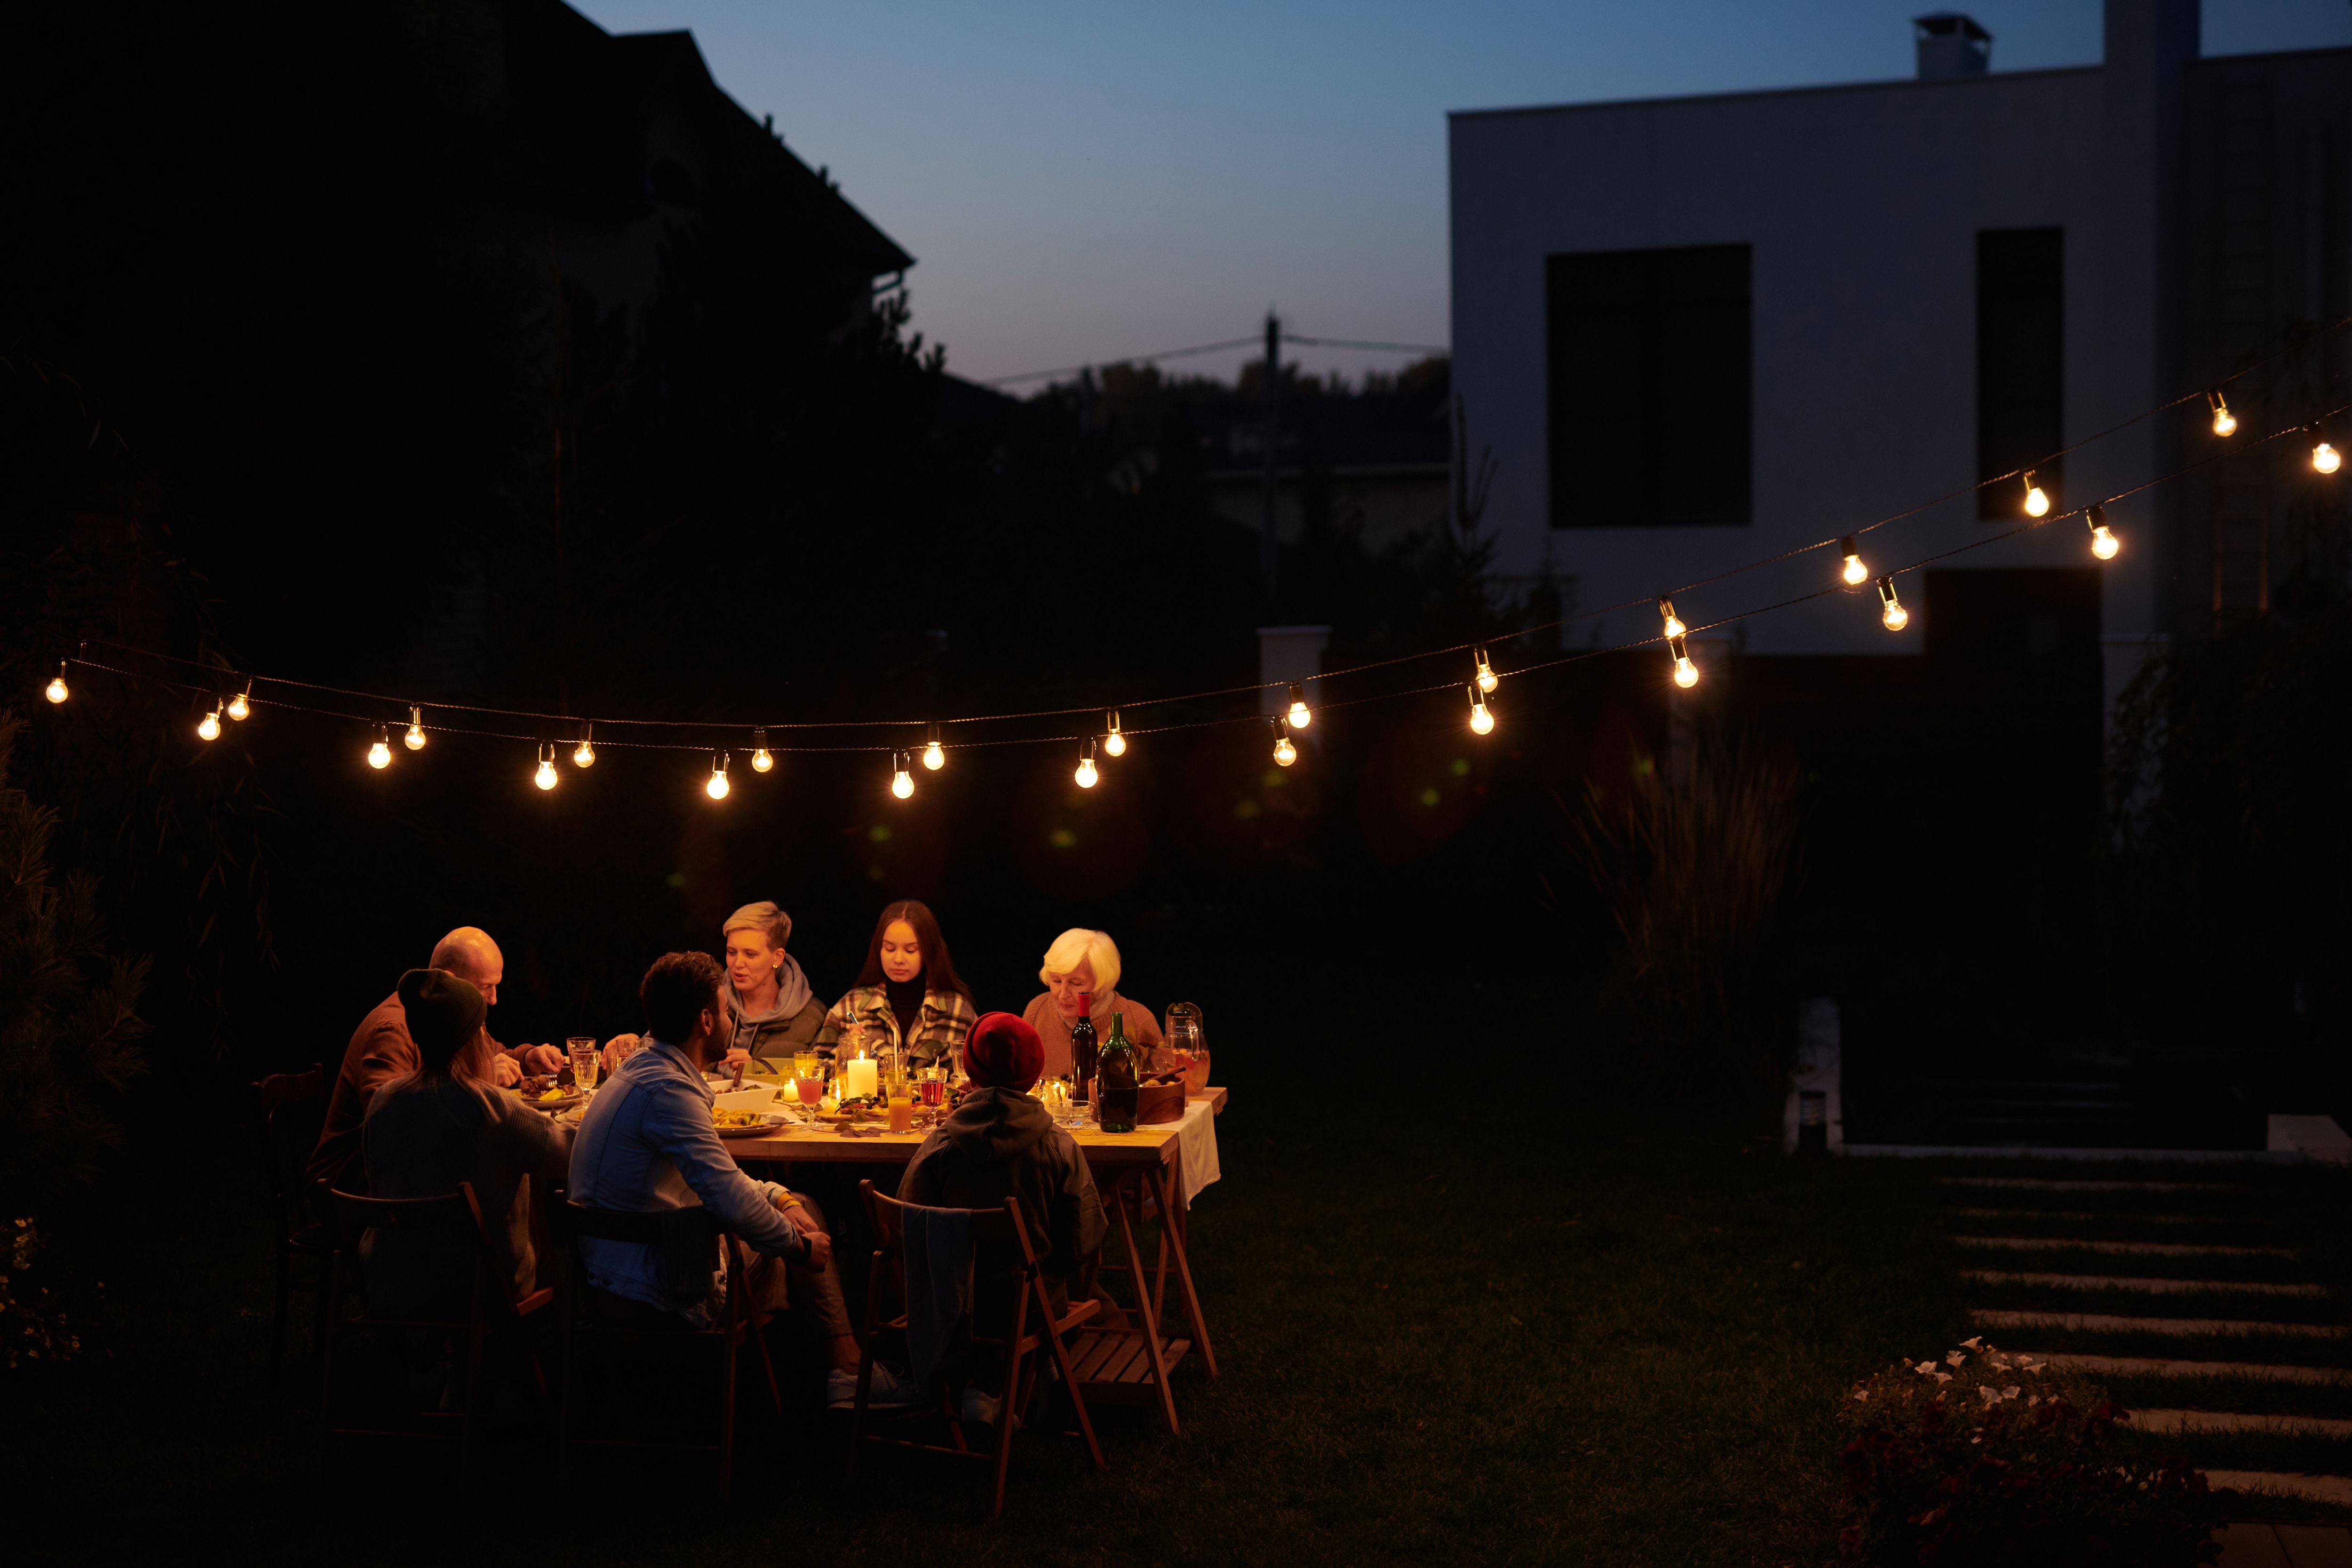
Lighting turns a daytime cookout into an evening gathering. Use three layers so the space feels balanced rather than harshly lit:
- Overhead string lights to define the dining area.
- Low path lights along walkways to guide guests safely.
- Task lighting near the grill so the cook can see food color and doneness.
Choose outdoor-rated fixtures and keep cords away from wet areas and foot traffic.
9. Add a Privacy Wall or Screen
A privacy screen blocks sightlines to neighboring windows and creates a sense of enclosure that makes the barbecue area feel like a room. A short wall at the edge of the patio is one option. Wood or composite cladding is a practical choice because it adds texture, handles weather well, and can match a deck or fence. Leave gaps for airflow so smoke does not get trapped in the enclosure.
10. Build a Food Safety Station
A dedicated station for food safety keeps raw and cooked items apart and makes it easier to track temperatures. Set up separate plates and utensils for raw meat and cooked food, and keep a food thermometer on hand. The U.S. Department of Agriculture advises cooking poultry to 165 °F and beef, pork, lamb, and veal steaks, chops, and roasts to 145 °F, then letting them rest. Its guidance on grilling and food safety also explains how to keep food out of the temperature range where bacteria multiply quickly.
- Keep cold foods at 40 °F or below on ice or in a cooler.
- Keep hot foods at 140 °F or above on the side of the grill or in a warming tray.
- Follow the two-hour rule for perishable food left out, and cut that to one hour when the temperature is above 90 °F.
11. Create a Lounge Corner
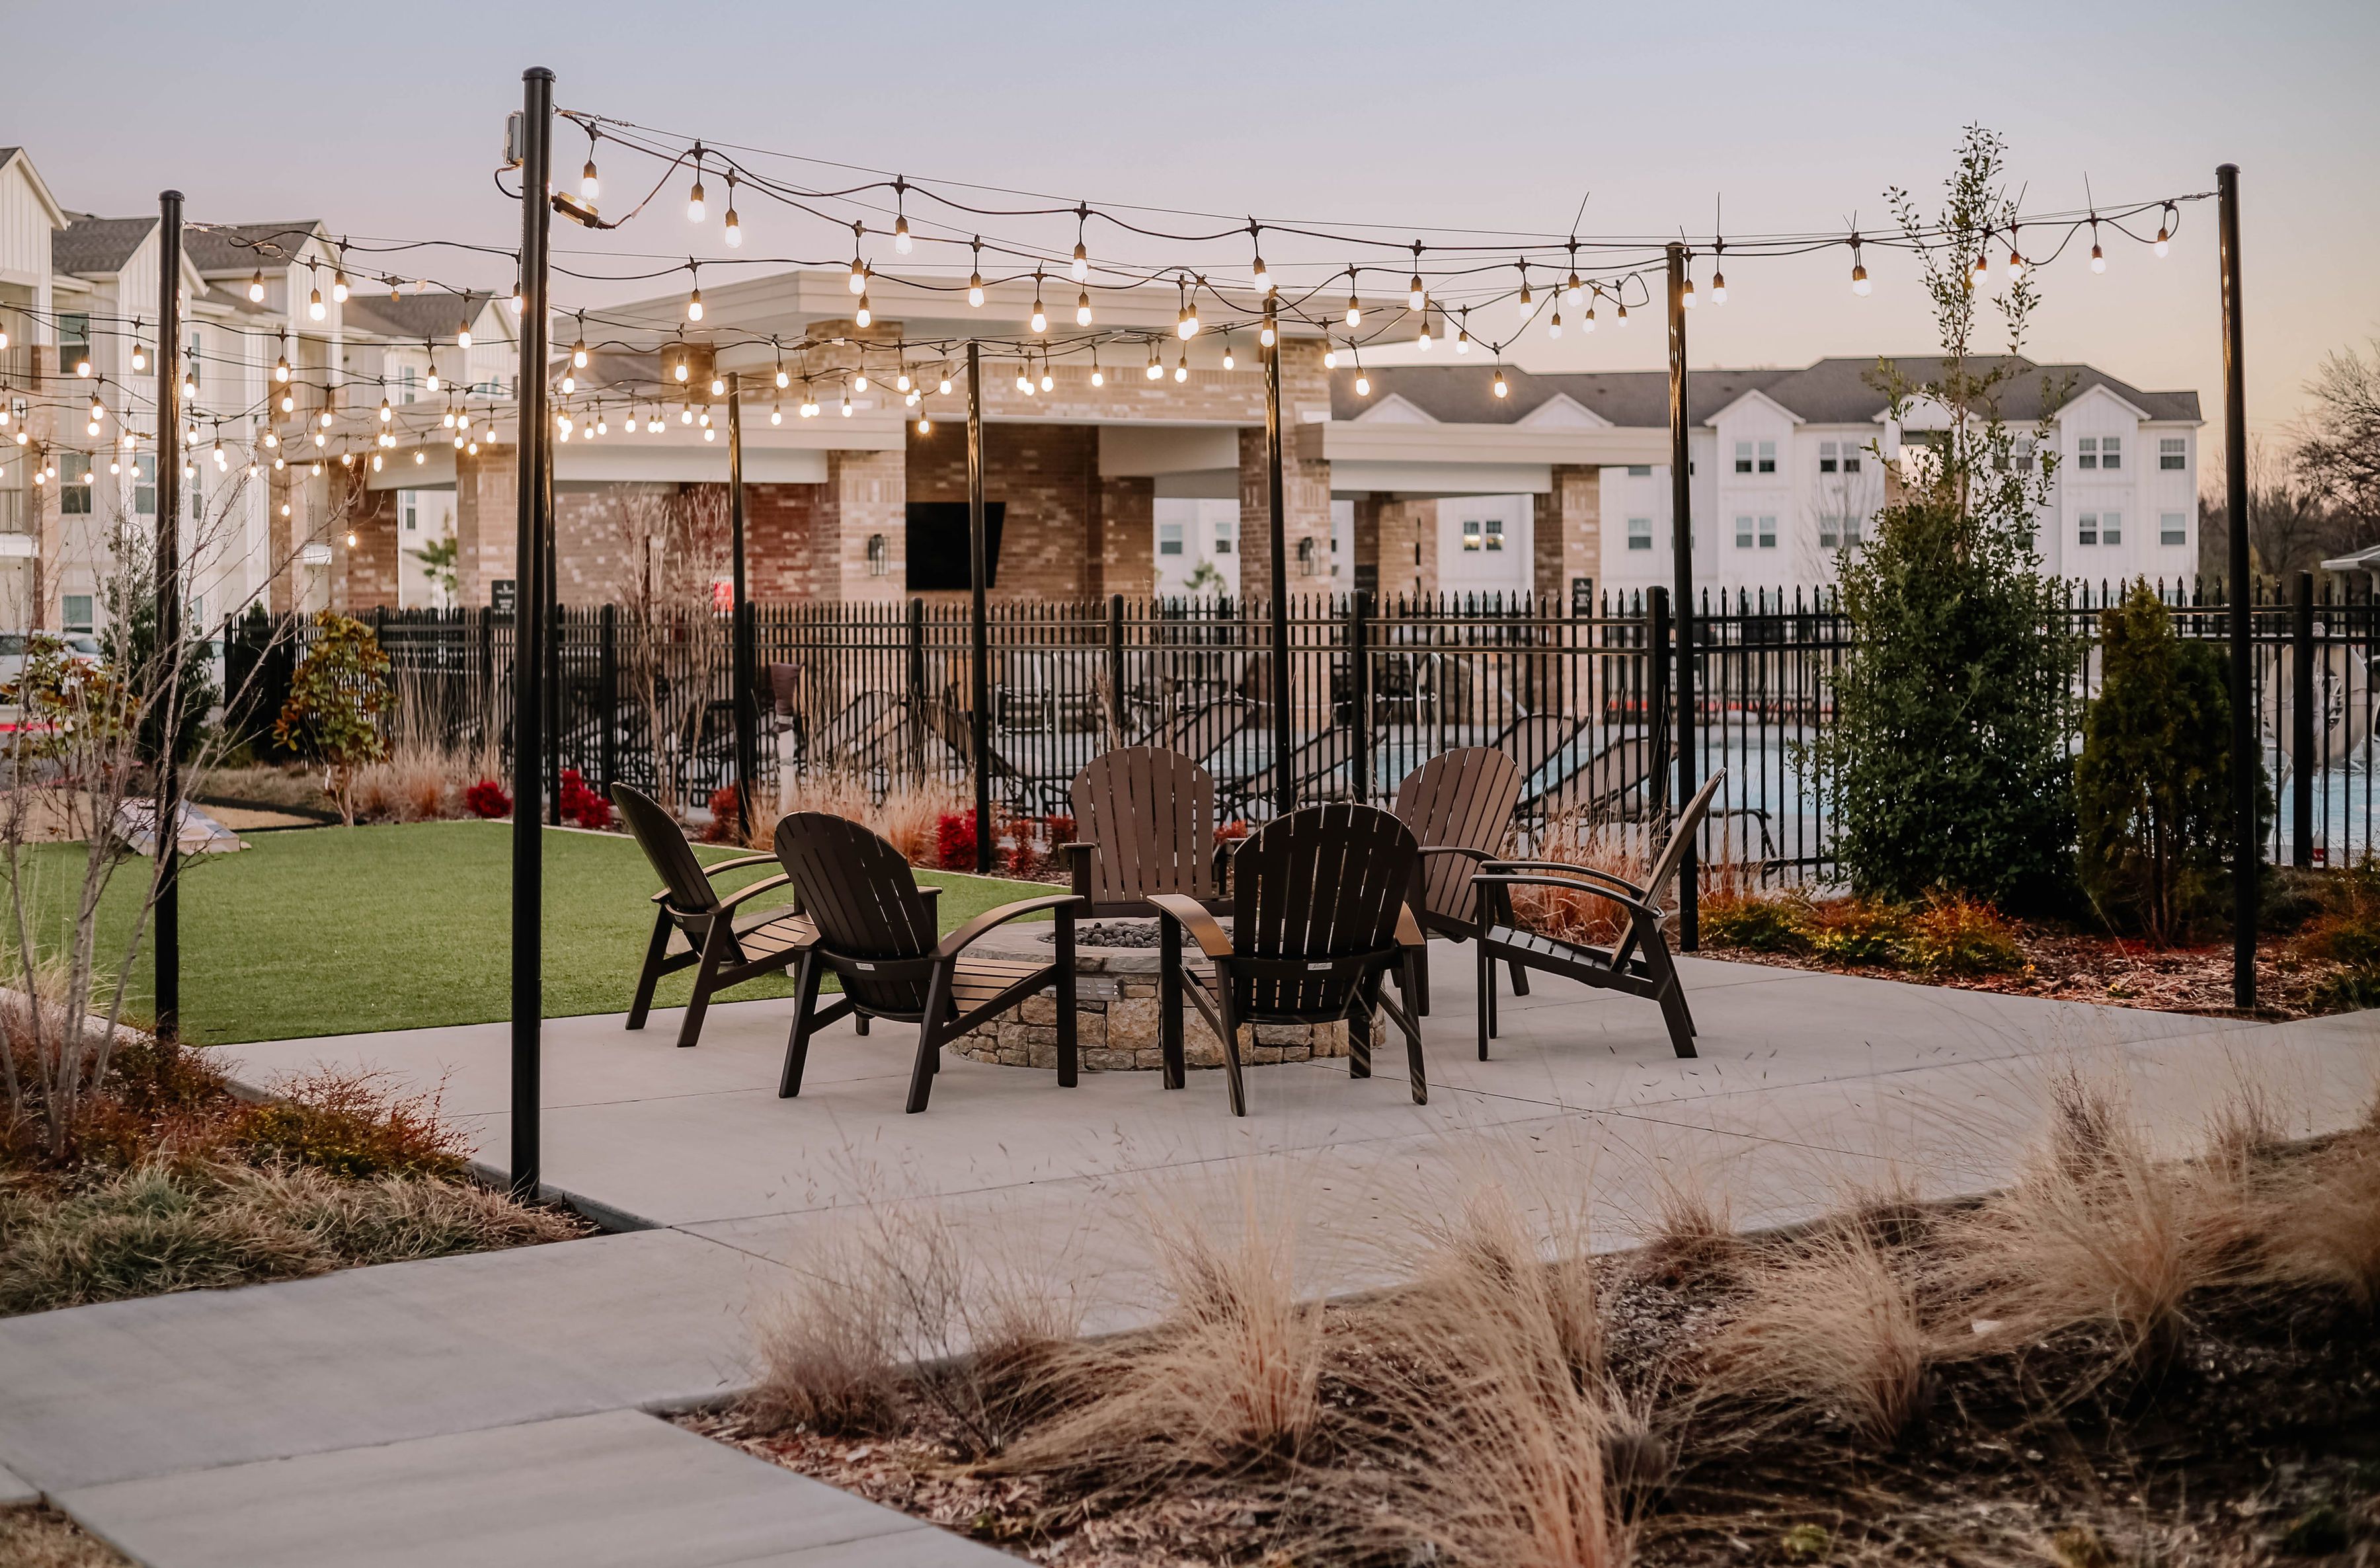
Not every guest wants to sit at the table, and a lounge corner gives people a place to talk after eating. Arrange two or three chairs or a small sofa around a low table or fire feature, positioned away from the grill. Weather-resistant cushions and a small side table for drinks make the area easy to use. Keep the lounge area far enough from the cooking zone that smoke and heat are not an issue.
12. Plan Storage for Coolers and Supplies
Storage is the most overlooked part of a barbecue area. Pick a weatherproof cabinet, deck box, or bench for charcoal, lighter fluid, napkins, and extra serving pieces. Keep coolers in the shade, and store raw meat in sealed packages at the bottom of the cooler so juices do not drip onto other food. Having everything in one place means fewer trips inside during the party.
Plan the Space Before the First Guest Arrives
The best backyard barbecue areas are built around how people actually move, eat, and relax. Start with the grill zone and safety distances, then add shade, seating, and lighting. A short walk-through the day before a party, checking clearances, cord placement, and where the cooler will sit, is often enough to spot problems before guests arrive.
- Confirm the grill has at least 3 feet of clearance on all sides.
- Test string lights and outdoor outlets before evening.
- Set up raw and cooked food stations separately.
- Place drinks, napkins, and serving pieces before the food comes off the grill.